Project: rustic and traditional flooring
Location: Near Tadcaster, North Yorkshire
Type of property: barn conversion of two old barns combined into one
Floor areas: 60 m2 open plan kitchen and sitting room, leading into a hallway
It was a pleasure to work on this stunning barn conversion, destined to become home for this family and their very friendly dog. The owners had already selected and sourced their tiles, but the installation would be a challenge.
Timings of floor tile installation
The renovation of the barns was being completed in stages. The first tiles to be laid were in the sitting room. However these needed to seamlessly run into the hallway and the kitchen beyond which had yet to be completed.
Floor layout planning
We worked out the centre line for the hallway, taking into account the four focal points of the stairs ahead, doors to the kitchen and sitting room and of course the sightlines from the front door. We also had to make sure to incorporate a cloakroom door and storage cupboard door.
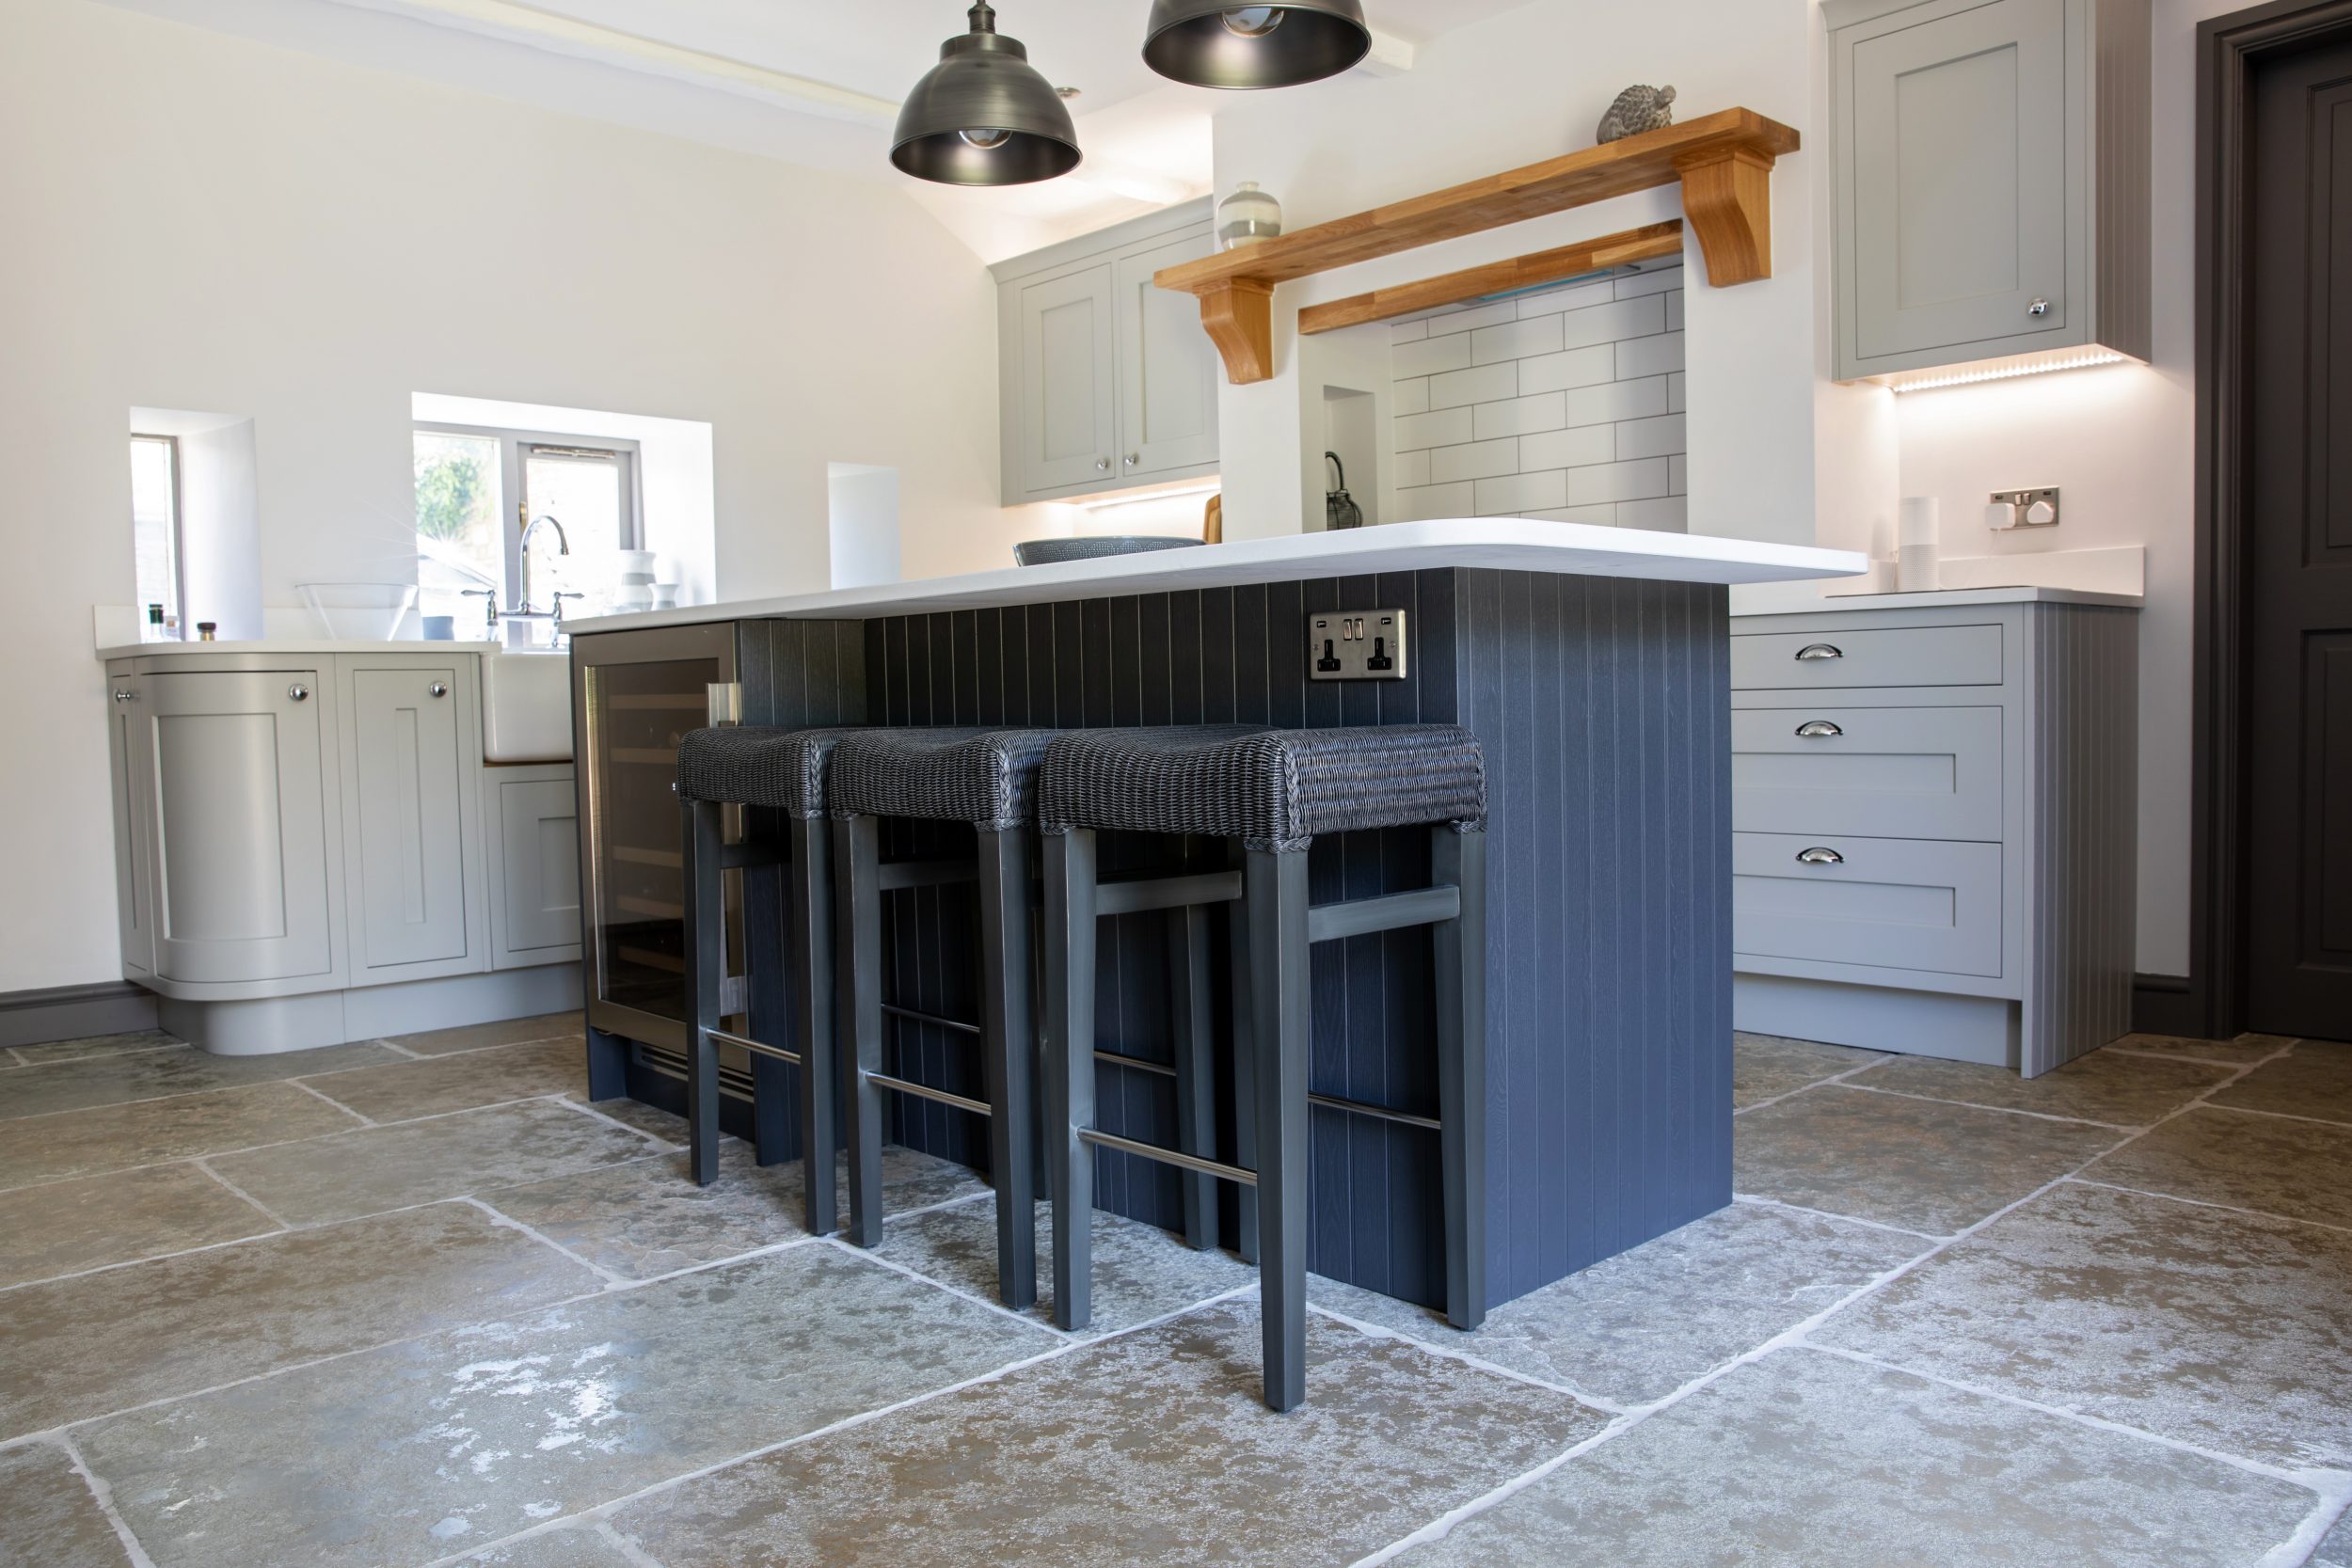
Natural limestone floor tiles
The tiles were limestone with an unusual dappled patina. They had the look of a weathered flagstone floor without the additional maintenance. All were 600 mm wide, with lengths varying between 700 to 900 mm long. The owners wanted a random pattern to reflect the rustic nature of the rest of the property.
Floor levelling
Because the property was being created from two barns the hallway, kitchen and sitting room were all on different levels. We flooded the area with a self-levelling compound to set overnight.
Limestone floor installation
Before starting, we went through all the tiles, picking out the best to lay in the most visible areas. The varied colours meant it was important to hold back any that were too extreme.
We laid out the limestone tiles and, once happy that we avoided any patterns, cut them and set them in place. Once we had completed this central run of perfectly lined-up tiles, we radiated outwards. We also incorporated a sunken matwell by the front door.
Once the tiles were laid, we cleaned them and applied the first coat of sealant. Only after this did we grout the tiles. Any excess was washed off. After the tiles and grout had dried, we added the second coat of sealer to cover the grout.
Project challenges
The grout for this traditional type of limestone tile needs to be wider and thicker than usual. The beige grey colour of the limestone grout gives an impression of antiquity, as if the floor has always been there. However you do use far more grout than more contemporary looks, and we seemed to be forever mixing it. But we think it was worth the effort, as the flooring added a maturity and charm to the barn conversion.
Owners’ reaction to their natural limestone tiles
The owners were very pleased with the overall effect and our attention to detail. We tiled their ensuite after we finished this project.